How To Change the Engine Oil in Your PWC
Save yourself some money with a little elbow grease
For many people, dealer service is the way to go. Always. Dealer technicians are typically well trained, have the tools and supplies readily available, and the work will come with a warranty. They also have one thing that many of us lack – the time to do the job and do it right. The catch? Consumers pay for this privilege, and sometimes that cost is surprisingly high.
If you’re a competent do-it-yourself type (be honest about the competent part), some of these tasks can actually be done at home and for a lot less money. Example? The routine four-stroke oil change. Most manufacturers suggest the oil gets changed about once every 50 hours, or as little as 10 hours following the initial break-in of a new engine. Don’t mind getting your hands dirty? Here’s how to do it yourself.
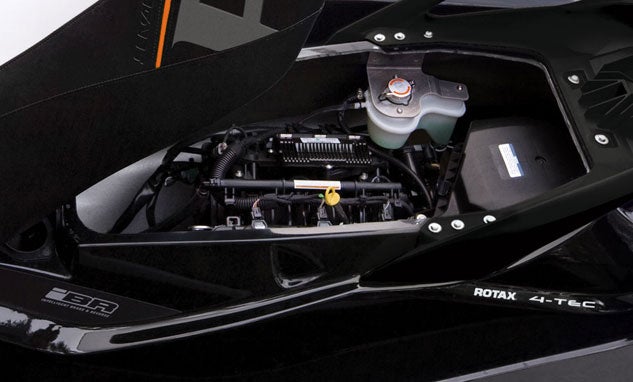 If you’ve got a little mechanical knowledge and aren’t afraid of getting dirty, changing your PWC’s oil can save you some money.
Assemble the Tools and Supplies
Remember, your dealer will have everything you need. If you’re doing the job yourself, you’ll have to invest in a few tools.
How To Care For The Vinyl On Your PWC Seat
First on the list should be a suctioning oil-extraction pump. You can find them in a catalog or online retailer like watercraftsuperstore.com. Extractor pumps suction the oil out of your engine via a hose placed into the tube normally occupied by the oil dipstick, and collect that used oil for later disposal. That’s another task that your dealer would normally handle, so be prepared to add an additional trip to a local recycling center, gas station, or quick-lube center that accepts used oil. Bring the oil in clean plastic containers. Never dispose of the oil yourself by burying it, pouring it down a drain, dumping it in a sewer, etc. You’ll not only be doing untold harm to the environment. You’ll also be breaking the law.
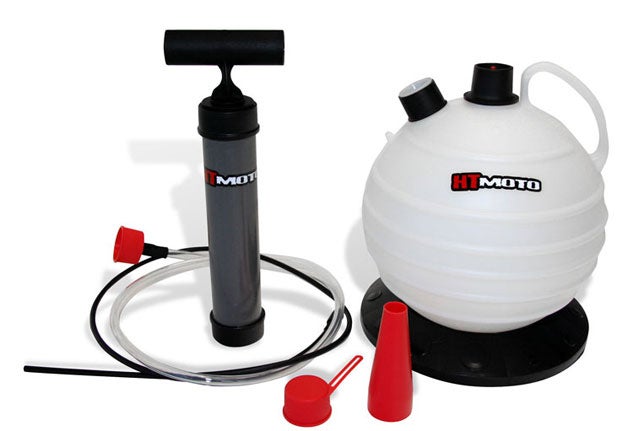 An extractor pump, like this model from Hydro Turf, removes all the oil from your engine with little mess.
Finish up your tool kit with a strap wrench to grasp and remove the oil filter canister.
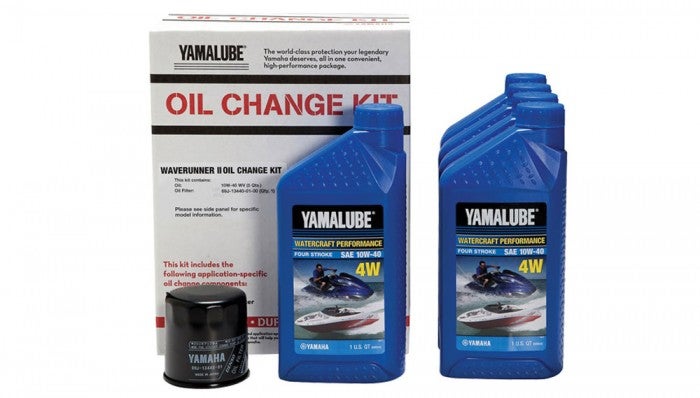
As to supplies, you’ll need the obvious – the appropriate oil for your particular engine along with the appropriate oil filter. Determine how much oil you’ll need by looking in your owner’s manual for the oil capacity. Then choose your manufacturer’s recommended brand, or if you’re looking for a less-expensive alternative, a brand-name oil with a clearly labeled FC-W rating. This ensures that the oil in question has a higher viscosity, a must for marine engines, as well as additives designed to prevent rust and corrosion. Don’t be tempted to use automobile oil. It won’t stand up to a PWC’s constant RPM load, nor its watery environment, It can also thin and sacrifice lubrication.
Do likewise for the filter, choosing one that is recommended for your engine.
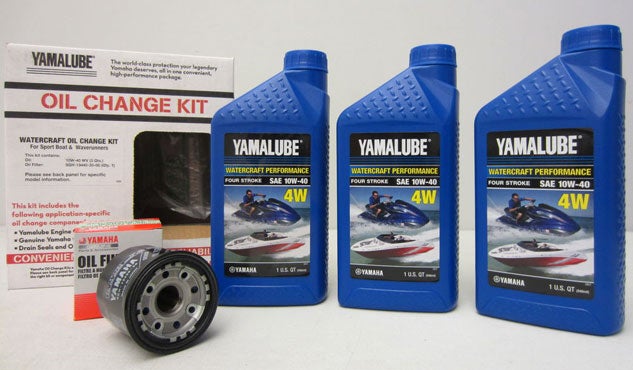 The safest bet for replacement oil is the one with your manufacturer’s name on it.
One Step at a Time
Trying to remove oil from a cold engine is tough. It won’t flow freely, plus you’ll leave some contaminants behind. Better to run your engine on a flush hose for several minutes to warm that oil up, as well as take those contaminants and get them suspended within. Once warm, stop the water, shut off your engine, and then remove the oil filler cap and the aforementioned dipstick.
Post-Ride Maintenance For Your PWC + Video
Follow the directions that came with your oil-extraction pump to attach the hose to the dipstick and, once secure, start pumping to start removing the oil. Take care. That oil will be hot and can burn. Continue pumping until all the oil is removed from the engine and tucked away in your pump reservoir. Then disconnect the pump, and put aside for later disposal of the oil.
The oil filter is up next. Before you remove it, try this tip: wrap a freezer-style Ziploc bag around it. The bag will catch spills as you remove the filter. Even then, you might want to also place some rags under the filter to catch any errant drips. Grasp the filter with your filter wrench, and unscrew it from its base. Seal up the filter inside the bag, and set it aside for disposal along with your used engine oil.
Before you screw on the new filter, rub a thin coating of oil on the filter’s gasket surface to help facilitate a good seal. Thread the filter in by hand until the gasket makes contact, and then use the strap wrench to finish tightening until nice and snug (typically about another 3/4 of a turn).
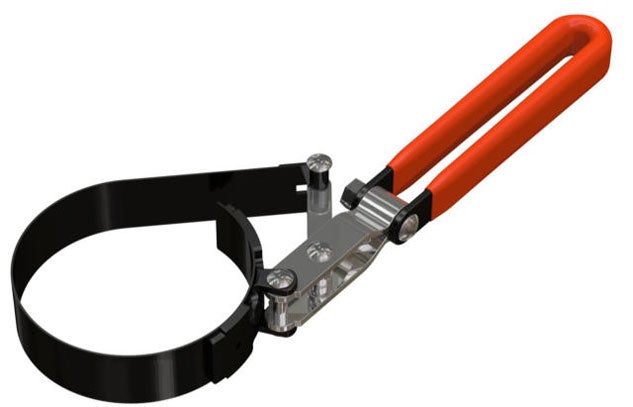 A strap wrench allows you to easily remove the old oil filter and install a new one.
Finally, refill the engine oil reservoir with the appropriate amount of fresh oil by pouring it into the filler opening you previously uncapped. Avoid overfilling; oil can be forced out the breather tube and into the filter element. Replace the oil filler cap when done, and wipe up any spills.
How To Properly Stabilize PWC Fuel
Check the oil level via the dipstick, but first run the engine briefly – 10-15 seconds – to distribute oil to the filter, and then shut it off and let it cool. Top the level off only if the oil shows low on the dipstick indicator.
And with that, the job’s done. Mentally tally up the money you saved, then get out and ride. But first, start a log book and keep track of your engine hours. A good mechanic, even a do-it-at-home type, will want to know when the engine is due for that next oil change.
Get PersonalWatercraft.com in your Inbox!
Like PersonalWatercraft.com on Facebook
Comments
Most Popular

2025 Yamaha JetBlaster PRO 2-Up Review
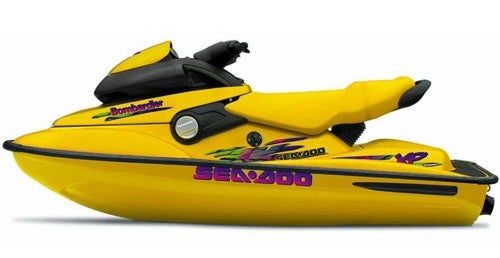
Remembering the Sea-Doo XP

2024 Kawasaki Jet Ski STX 160X Review

Whatever Happened to the Wetbike?

2025 Yamaha JetBlaster Review




 Your Privacy Choices